Adding Voice Overs in a video can really help you to share your message. It’s good for people who would listen rather than read, and it makes your video more engaging.
You can do this easily, and it makes a big difference in how people react to your content.
In this guide, we’ll show you how to add voiceover to your video. By the end, you’ll know how to make your videos better with added spoken words.
Why Add a Voice Over In Canva?
Adding a voiceover to Canva is a good idea for a few reasons. First, it makes your project feel special. When people hear your voice, they feel like you’re talking just to them. That’s how you can improve your personalization.
Next, having a voiceover can make people pay more attention. If you’re explaining something, they’re more likely to listen and understand. That means better engagement, or in simple words, more people liking your stuff.
So, using voiceover in Canva can make your work more fun and get more people interested. It’s like adding an extra sparkle to your project!
Can I use Voice Over In Canva?
Yes, you can definitely use a voiceover in Canva! This feature lets you add your own words and voice straight into your designs. So, if you’re making a video or a slideshow, you can talk right over it.
It makes everything more personal because it’s your own voice that people are hearing. Having a voiceover doesn’t just make your project special, it also grabs attention. When people hear a voice, they’re more likely to stop and listen.
It’s another way to make sure people get what you’re trying to say. It’s a cool option that makes your Canva project way more interesting!
Advantages of Add Text-to-Speech in a Canva Video:
You can use the Text-to-Speech feature! It’s pretty simple to do. Now, let’s check out some of the cool advantages of using it:
- Grabs Attention: People will listen more.
- Saves Time: No need to record your voice.
- Easy to Use: Just type and let it talk.
- Makes It Clear: Explains your message better.
So, Text-to-Speech in Canva is a handy tool that can make your video pop in lots of good ways!
How to Add AI Voice to Canva Video?
Step 1. Make AI Voice Over: Use another app to make a voiceover. Save it as an audio file.
Step 2. Open Canva: Start or open a video project.
Step 3. Go to Uploads: Click ‘Uploads’ on the left.
Step 4. Add Audio: Upload the voiceover file you made.
Step 5. Put in Timeline: Drag the audio to your video’s timeline.
Step 6. Line It Up: Move the audio to the right spot in the video.
Step 7. Play: Check it by hitting play.
Step 8. Save: If it’s good, save your video.
There you go, quick steps to add an AI voiceover to your Canva video.
Another Method To Add AI VoiceOvers to Canva Video?
Steps to add AI voice over in canva by using canva AI tools:
Step 1. Open Canva: Start Canva and head to your desired project.

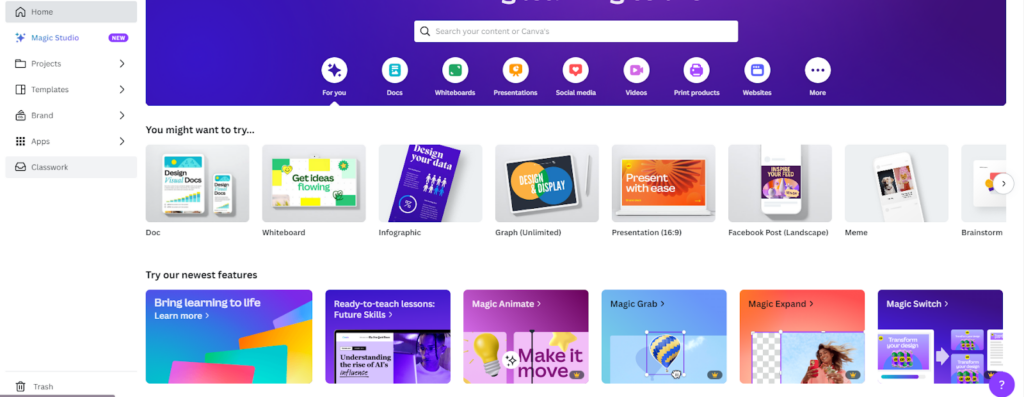
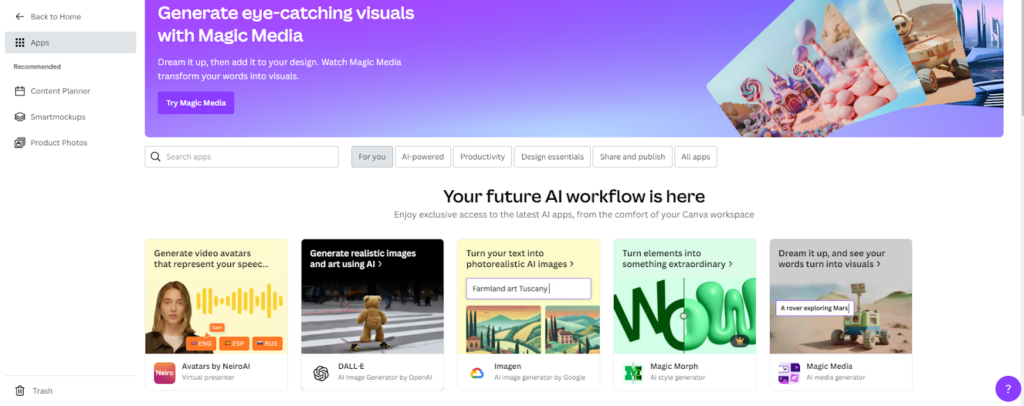
Step 2. Navigate to Apps: On the left sidebar, click on the “Apps” icon.

Step 3. Select AI-powered: This tab groups all the AI-integrated tools.

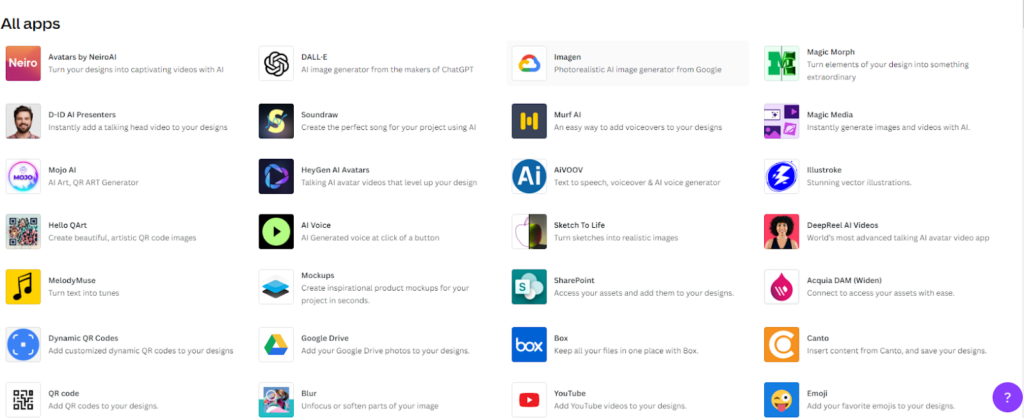
Step 4. Look for AI Voice Tool: Search for a tool that specifically mentions voiceovers or similar functionality.

Step 5. Add to Project: After generating the AI voiceover, add it to your video.

Step 6. Follow On-Screen Instructions: Once you select the AI Voice tool, Canva will typically guide you through the process.

Step 7. Adjust Voiceover: Position the voiceover on your video timeline as needed.
Step 8. Save & Download: Once satisfied, save and download your video with the AI voiceover.
What is Canva AI App?
Canva is all about making design easy for everyone, not just people who are experts in graphic design. They have a bunch of tools to help you make great stuff like posters, slides, and more.
What’s special about Canva is that they’ve added AI tools, which is like a computer helping you make better choices.
For example, if you have a photo and want to get rid of the background, there’s a tool that does it for you in one click. It’s way easier than doing it manually in older programs like Photoshop.
Canva keeps adding new tools that use this smart AI to help you. Some help you with writing, others with editing photos, and some even help you make your video match the music. All of this makes your work quicker and makes you look like a design pro.
Conclusion
We talked about adding a VoiceOver to your Canva video in this article. It’s a simple way to make your video more interesting and easier to understand. Adding a VoiceOver can also give a personal touch to your message, making it more relatable to viewers.
So, what are you waiting for? Now that you know it’s easy, go ahead and add a VoiceOver to your next Canva video. You’ll see how much better it can make your content!
